Tuesday, March 23, 2021

Why?

        2020 has been quite a year, hasn't it? When the world shut down and everyone stayed home I went to work and faced the public every day. Thank goodness for quilting to fill the leftover hours. I took on a lot of busywork projects and after months of sewing I didn't make much of a dent in the fabric. A couple weeks ago I needed a different project so I decided to make  a couple dog beds for my friend Nancy to donate. I had accumulated a big bag of scraps which were taking up space. I got the idea to dig out the big box of cotton duck that I had leftover from my flag making years (over 25 years ago!) After making and stuffing 2 beds I made 4 more that need stuffing and still had a LOT of fabric left over. 


      So what to do with this duck fabric? The only thing I could come up with was tote bags so I googled a couple patterns and jumped in. Good grief. I refuse to stop until the fabric is gone but what in the world will I do with all these bags? 


      Then a ziploc bag fell into my hands with unfinished pouches and lots of zippers. So I decided to use up all the zippers. Still a lot of big zippers left but I'm done with that craziness. What to do with all these pouches? 


 Not to mention the knitting. I started knitting and crocheting hats for cancer patients after my experience. Mom gave me all her leftover yarn and supplies and now I am making slippers too! All sizes and colors and can't stop. Every few months I pick up a skein of yarn on sale for variety and just keep knitting along. What to do with all these slippers?


      I don't know. Why?

Saturday, November 7, 2020

"Bright Shiny Things"

       Obviously I am not much of a blogger am I? I hadn't done much quilting for a while and wasn't very inspired so I had nothing to write about. Then a couple weeks ago I decided I needed to finish some stuff up and that started my crazy journey chasing bright shiny things (as my daughter calls my amazing ability to be distracted by just about anything in front of me). 

      It started by me choosing a box at random with a project in it. It was the green chain quilt. I started making little 4 patches like crazy. As it grew I decided the 4 patches weren't killing me so I pulled the red box of the same block and went a bit nuts doing those. After they got to the laying out stage I needed to start something else.

      Next box I grabbed was leftover pastel pieces from another project. I didn't want to make that same quilt again so I started sewing the pieces together. There were small crazy quilt pieces in the box which I used in the first quilt. That gave me the idea to use some of my crazy quilt blocks with the strips for the next one. I pulled out my collection of crazy quilt blocks and used some in the main part and cut some in half for the borders. The pile was getting smaller and since making crazy quilt blocks is a favorite of mine I spent the next week making more blocks.   

     Well....as the crazy quilt blocks grew my collection of pastel scraps
got smaller and smaller and I needed some longer strips that were a busy fabric. That reminded me of my box of floral blocks so I looked to see if there might be some strips already cut in there. Well, guess what was on top of the box. A bag of half square triangles, which made me think of my friend Kate LePard who also likes to make stars so I made some star blocks with the triangles which I will put together with the crazy floral blocks in the box. At the moment that one is on the design wall to be organized and completed.

lots & lots of  blocks


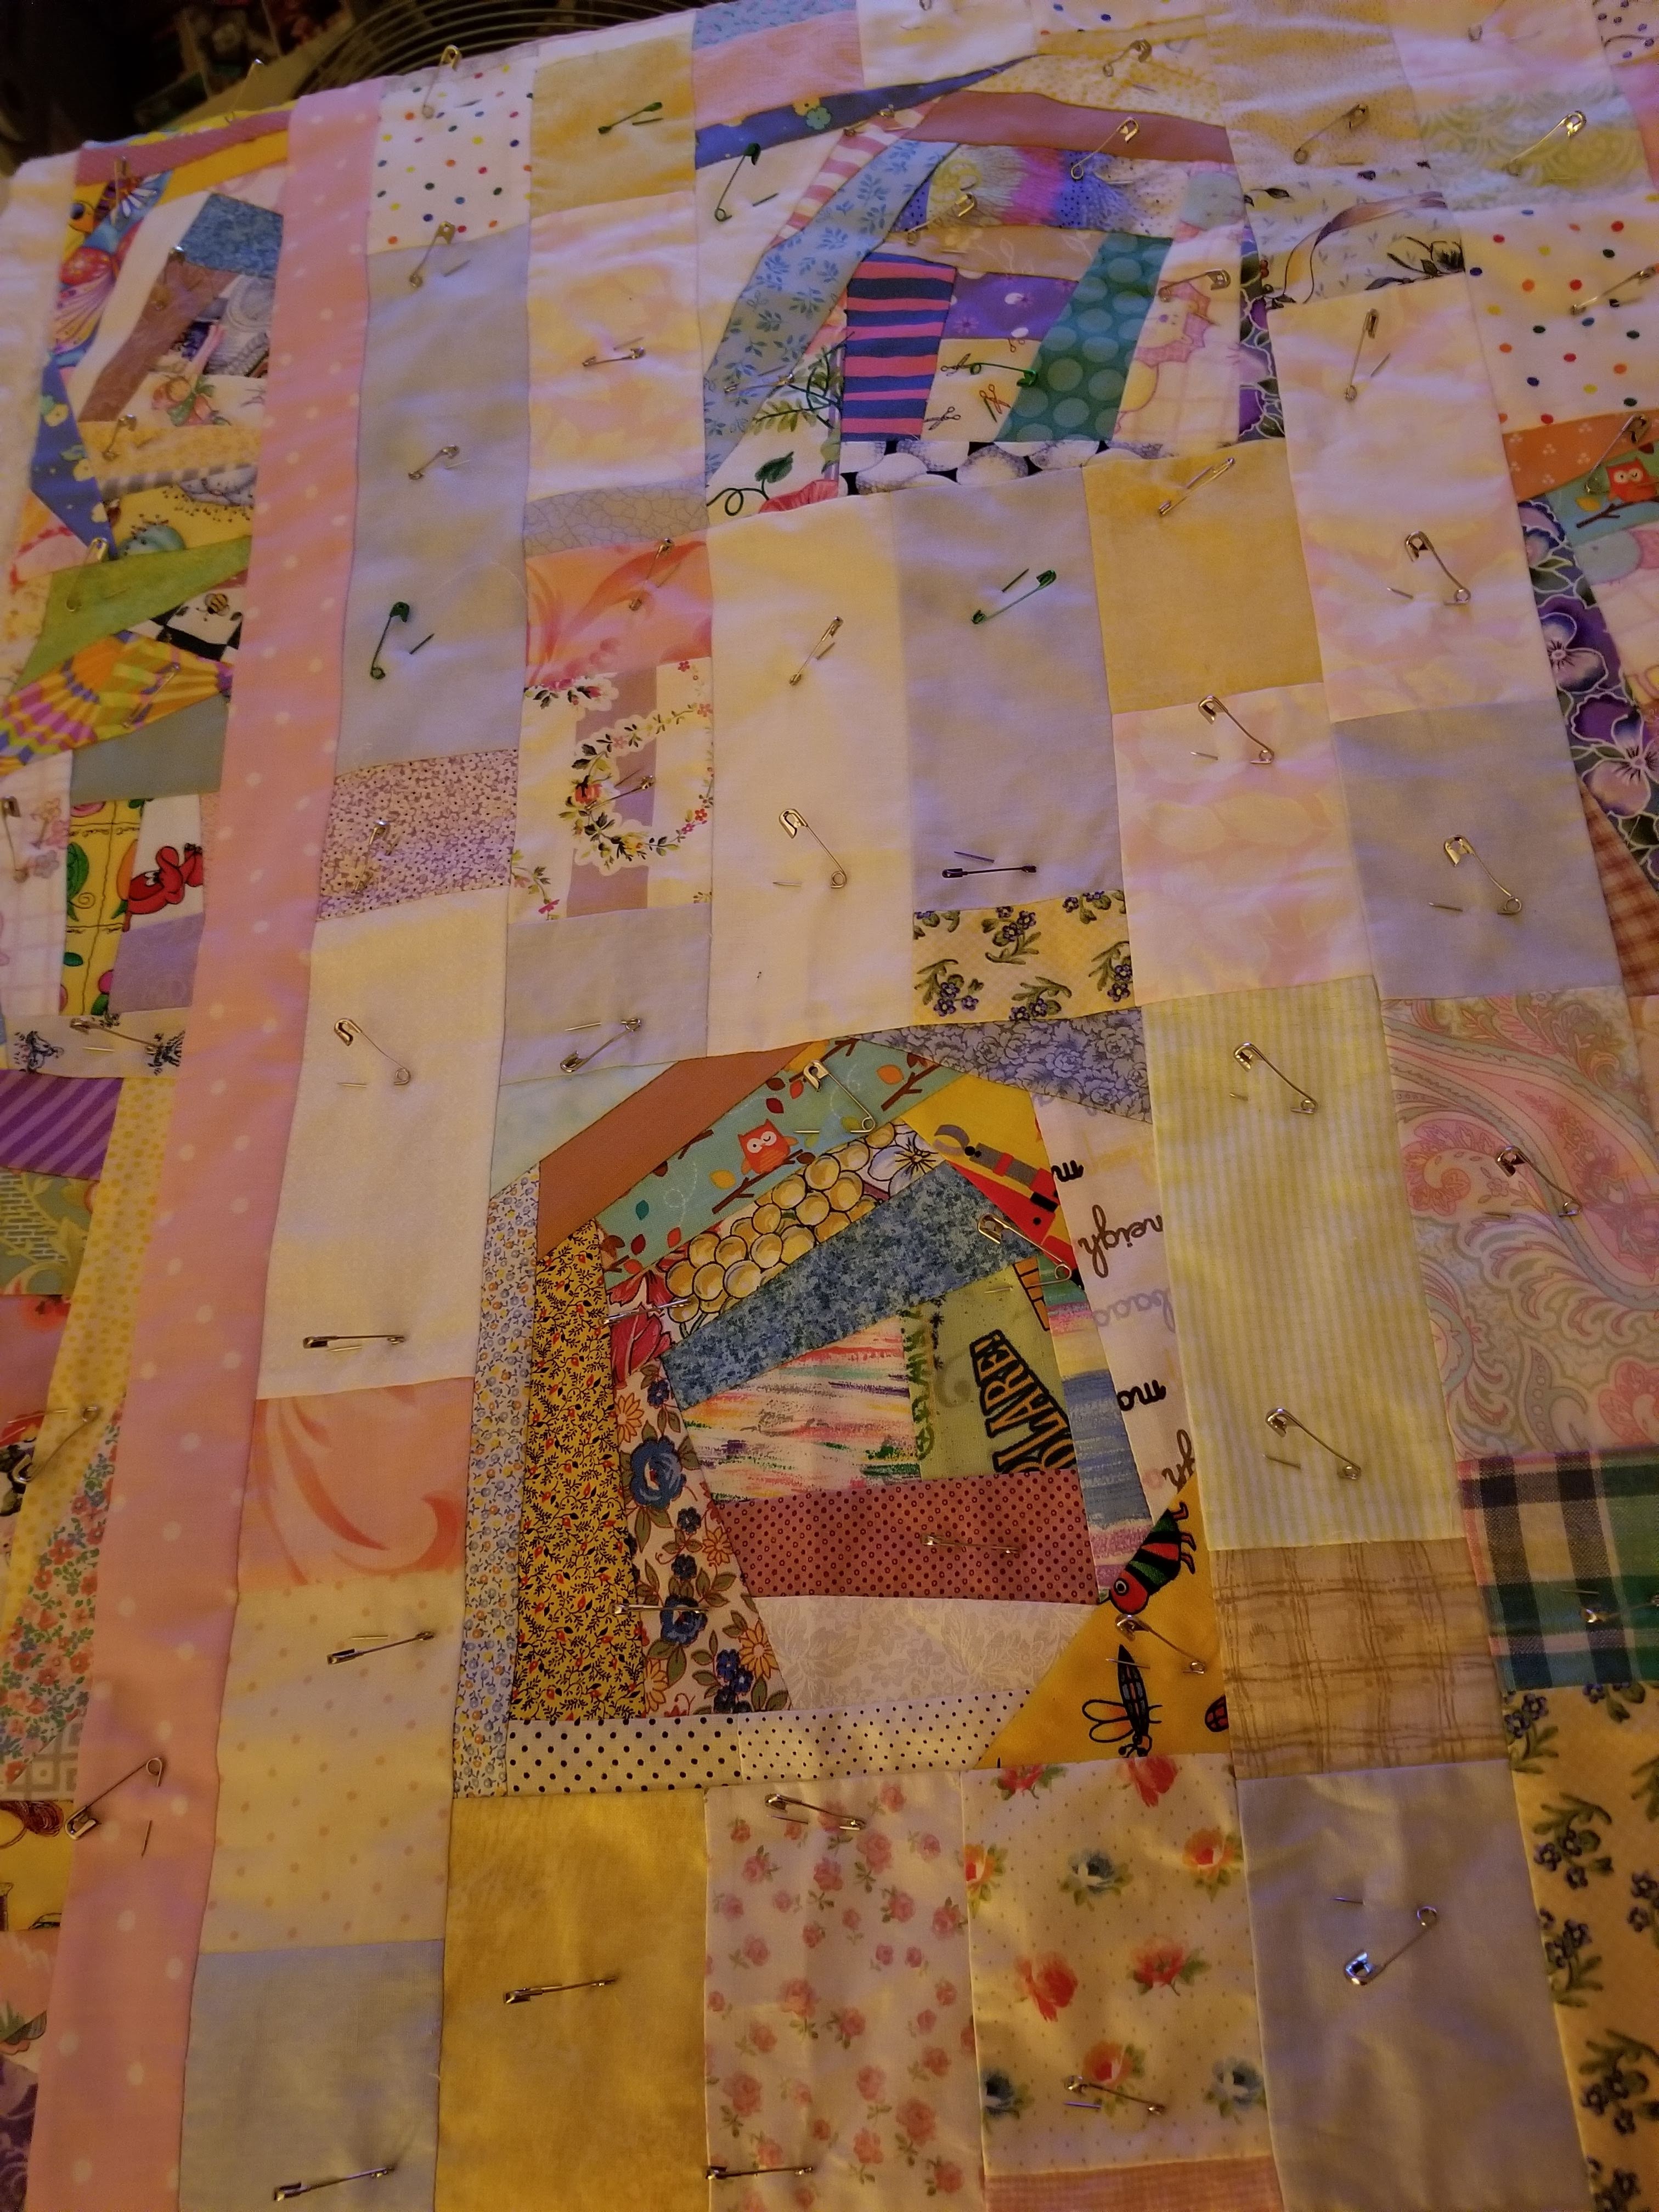
      Now that is the sewing room projects. I also set up the big table in the living room to layer the pastels and since it was up I quilted 2 baby quilts and  sewed on 2 bindings and machine quilted a 3rd quilt, using a new ruler I wanted to try. I am getting the hang of the ruler thing but need more practice so that sent me to the internet to order another ruler for the border. 


 Lordy...chasing all these bright shiny things has left me with quite a collection of UFO's to assemble. Oh, and I also have 1 empty box... Progress...

Saturday, April 25, 2020

Sandie's Specialties Part Deux

One of the first batches.
All silly &'no two alike
    This is a crazy, scary, different time. We are living through this pandemic
in a way that  we have never done before. My personal experience has been a little different. I am working more hours than usual, 6 days a week. I don't really know what it is like to stay home all day and my "family" is the people I work with in a close space every day. I never ever imagined myself in a job where I am considered "essential".
      When the governor said he was asking everyone to wear masks in public I realized that I could make myself and my co workers masks to wear. After all, I have hundreds of yards of fabric, lots of leftover bias tape, and some elastic. Well....thanks to the magic of Facebook it has turned out to be a huge thing. People are coming to the pharmacy for free masks all day long. I have completely used up dozens of packages of bias tape from a past life, all the elastic I can find, cutup t-shirts, and even ace bandages. Strangers have brought me elastic, given me money to buy more (which I will use as soon as I find a place to buy it!) I am completely out of cream, beige, and dark gray thread and am resorting to using pink thread! Can't even get more on Amazon! On the other side, I have not even made a dent in my fabric stash!
       As I am sitting at the machine for hours a day, I am having flashbacks to the old Sandie's Specialties days when I would sew as many free hours a day as I could then spend the rest of the time trying to sell the stuff. I would do a show and if something was selling well I would go home and sew until midnight. Now I am sewing before work, coming home, and sewing till I can't take it any more. I am proud of myself that I am able to still do it, 40 years later! I am very happy that I had that drawer full of bias tape from the 80's which has finally come to a good use. At the moment I am taking a night off because I have no elastic left and just needed a break. I feel like the women during the war rolling bandages for the troops, doing what I can for the cause. Who knew that sewing would become an essential skill in our times? People everywhere are digging out their machines and helping out. It is kind of exciting to see my favorite pastime getting its due and quilters and seamstresses are suddenly important.
      I am doing it because I CAN. It is something I can easily do and even though I am physically aching most of the time ( I ain't as young as I used to be!) I feel better than I have in months. I am busy all the time and have a purpose every day. It embarrasses me to be congratulated for doing something that I am getting so much out of. I was pretty depressed and wasn't doing much every day, so this is very good for me.  Yes, I still sneak in time for Pokemon Go and Animal Crossing every day, I have a TV right next to me and am constantly watching something. That Tiger King got me through an entire Sunday! Big Brother Canada is an every day go-to. My house is a mess and I don't care. No one but me will see it.
       We're all in this together and I hope others find something that gives meaning to this craziness. Keep on keeping on!

Sunday, December 1, 2019

X Marks the Spot

     I'm sure a psychologist would have a name for my "disorder", but I will call it "obsessive".
   
Aqua/gray Dr Suess border
Just a bit of the mess!
The last few months I have been "obsessed" with a certain pattern and have been living with this mess since summer. After I finished up with the blue/green obsession I decided I really enjoyed doing the X-Marks-the-Spot block. It hit  me that maybe it would be cool to go with 2 color families again but instead of mixing them all up I would do one color for the X and one for the background (duh). That led me to the aqua/gray combo. I got it done and LOVED it but needed a border fabric. So I took a sample with me to Cd'A and came back with 3 fabrics. I know Susie will be shocked to see which one I used. She and everyone in the shop were on a different team, but this was the one that made the aqua pop. Their favorite was too dull and will have a life somewhere else. (One fabric had a small pop of red in it and when I asked my daughter for a combo she said red/cyan! I smell another one in the future!)
    As soon as I finished this one I wanted a different combo so I asked my non-quilter friend Bev for ideas. After brainstorming a few minutes I came up with beige/gray. She thought I was nuts and was not on board until she saw it all together. It may be my favorite.
Beige/gray. Admit it. It looks good!
    When Susie and I were shop hopping a piece of fabric caught our eyes and I bought it for inspiration for the next one. (How crazy is that! I started with inspiration BEFORE making the top instead having to find a border later!)  The colors are bright and fun and I was pretty excited until I went to cut borders and discovered the fabric had a definite repeat and I only had 3 repeats! So  the top and bottom borders match and the sides match each other. Oh well, no one but me will notice.
Brights/black made with inspiration
fabric. Looking at the picture the
border actually works.

Zoo I Spy for baby boy
      You'd think I would be sick of this pattern, but NO, not yet. Now keep in mind each one required me digging into boxes and bags and pulling out fabrics to use, then cutting them out. Pretty soon I had quite a mess! As I went along I decided to do this blog as a tutorial on how to do this project so I took pictures as I went along. I thought I was done for now, then I got word that a very special person was pregnant with a boy and I wanted to do a special one for her and lo and behold! I found a pile of 3 1/2 " strips of zoo fabrics that I had inherited from someone! Why not make the centers a solid piece of fun fabric and strip the backgrounds? And use as many novelty prints as I can dig up and make it an I Spy?  My mind was blown!
     I will always relate these quilts to Survivor. I have been binge watching for months while sewing, so they are Survivor quilts!

Well, I now have to stop this madness for a while and clean up the mess! I have to move an entire room full of stuff into another room that at the moment has stuff piled up everywhere. Christmas is coming and so is Emma!

TUTORIAL

Supplies needed:  A square ruler. For these measurement you will need an 8 1/2" square. A smaller or larger ruler will require different measurements.
Rotary cutter and mat
Long ruler at least 3" wide
Lots and lots of scraps
A large piece for the X. It will be cut into 1 1/4" x 12 " pieces so you should decide how many blocks you will be making before getting X fabrics (I used various black fabrics on the scrappy one)
Washi tape ruler. Love it!
(Not necessary but I find it VERY useful--washi tape ruler on sewing machine bed)
Neutral thread
Fabric sizing or Best Press type spray sizing  VERY IMPORTANT

STEP ONE
Choose fabrics. Obviously anything goes with a total scrappy look.
Blue and greens, scrambled up. I like the side
borders which make it a better size. Not too fond
of the weird olive greens but I'll call them sparkle.
For a 2-color a little more thought has to go into it. I pull anything in the color family and toss them together on the table. If one is obviously off I pull it out. ( I admit there are a couple greens I
should have pulled out, but decided to go with everything...thus the ugly olive in there).

Here where I talk about one thing I consider very important for any quilt..SPARKLE!
Some people call it POP, I like SPARKLE.  Sparkle fabrics are the ones that contrast and pop out a bit. If you have a bit of sparkle your quilt will not be flat and lifeless. It will have some life and movement. My rule is there should be 1-2 "sparkles" in each unit. In this project I see 3 units--middle, left and right.
Pile of strips. See the
sparkles in there?
SPARKLE does not mean sparkly, it just  means it stands out. Usually that means a difference in color, or contrast but can also be sparkly or a bold print or even a solid.  If you look at the examples, you should be able to spot the Sparkle, but I'll give a hint.
In a bright combo, yellows and oranges and lime green will sparkle
In a neutral, a darker or lighter color will sparkle
In the bright/black combo, a lighter one will sparkle

It is also a good idea to make the SPARKLES a narrow strip.

 Keep in mind what you want for the X. Some ideas:
Bright kids fabrics with black X
Pastels with white  or yellow X
Two color with contrasting X (aqua/gray w/ white X, gray/beige w/ dark gray X, blue/green w/ white X
Anything can be done as long as the X pops!

STEP TWO
Cut strips in varying widths 1", 1 1/4", 1 1/2", 1 3/4", 2", up to 2 1/2" (wide pieces are good for fabrics with large fun prints). They can be any width, but it is best to have a good variety. It doesn't matter how long the pieces are as long as they are at least 3 1/2" long. 

Cut X pieces 1/1/4" x 12". Cut enough for the number of blocks you are making.

It is a good idea to know how many blocks you are making. - like to make them in multiples of 4 because it bothers me to have half an X on the edge, but that's just me. It takes 4 blocks to make an X.

16 blocks= baby size square
24 blocks= larger baby or lap size, but looks best with added side borders
36 blocks = square lap size

STEP THREE: Center piece
Sew strips together. I've done this a couple ways. I have cut strips for the center into pieces 3 1/2 to 4" long first and sewed the pieces together. I have also sewn long strips together in groups of 3 (any more is a problem unless each strip is the same length)
"RULES" FOR SEWING
For 3 1/2" pieces:
Choose pieces to pair up based on CONTRAST. Different widths, different colors, different values, different amount of pattern. You want good variety throughout.
Chain piece like crazy.
Cut units apart and sew pairs together, keeping watch on width, color, value, pattern, and sparkle.
Repeat until piece is 12 1/2" to 13" long  with 1-2 sparkles per 12 1/2" strip (this is where my ruler on the machine comes in handy)
For longer pieces:
Sew together in groups of 3. (This seems to work well). Then cut these into 3 1/2" to 4" pieces.
At this point the directions are the same. Pair up, watch contrast, go for 12 1/2" to 13" length.

STEP 4
PRESS. VERY IMPORTANT to use fabric sizing when you press. This will equalize the weights of the fabrics and will prevent stretch on the edges.
 Press all strips to one direction.

STEP 5

Cut into a 3 1/2" strip. Here is where you will get excited because it looks so pretty!


SIDES

STEP ONE
Center your X fabric on the strip. Sew. If you are smart you will make sure to sew with the pieced edges going down so you won't flip any--just saying!

STEP TWO
Sew strips to the X. 
My rules: First strip should contrast with the X so it doesn't blend in. Start and end about 1" from the end.
Continue adding strips, keeping in mind color, value, pattern, width, and sparkle. Be sure not to put your sparkles (one per unit) in the same round or they will all meet up in the end.
Where you start and end depends on the last strip. If you are a geometry thinker, think 45° angle. If the strip was 1" start and end 3/4" down, if it was 2 1/2" start and end 2" down.
This is one project where I use the scissors A LOT!
Try not to repeat fabrics on a round or you will have to work harder later to keep them from meeting up at the end.
Keep adding strips on both sides until the piece is 12 1/2" from corner to corner.
It is a huge time (and thread) saver to chain piece!

STEP THREE
Press from the center out, using sizing.

BEST STEP
Squaring up
Using your square ruler, square up this messy block. Center the center line of the ruler down the middle, making sure there is fabric to cut on all sides.

This step could be done with a larger ruler, but what a hassle! If your block is the size of the ruler, it is so much easier to visualize!

THIS WILL MAKE YOU VERY HAPPY! THEY ARE SO PRETTY!

Scrappy with various blacks
for the X
FINAL STEP
 Lay out the way you like them. Keep an eye on your sparkles. Don't let them touch, balance them throughout the quilt. You want the eye to travel evenly around the surface, not zero in on some "galloping horse" area. Check to make sure you don't have strips touching that match , and it is a VERY good idea to check to be sure seams don't meet up anywhere. That makes a hard lump.

Sew together. Add borders if wanted. There are a couple ideas here.

This has become a long blog, but hopefully it will inspire someone to try this block. Get in touch if you have a question. I am pretty sure I left something out that would help. All of these directions seem lengthy, but for me it is fun to work within the "rules". I have never been bored, because each strip is a decision, and each decision is different. (I'm sure the invisible psychologist would have a name for this too, but I look at it as a way to be creative and not bored). Please share any pictures if you make one!

And finally I need to speak to the fabric hoarders (like me) out there. I used to save anything bigger than an inch (really!) I have given myself permission to call the cut off fabric "scraps" which Webster defines as "a small piece or amount of something, especially one that is left over after the greater part has been used:"
I probably would have saved all those cut off edge scraps in the past but now they are in a bag to be used for dog bed stuffing. I feel good about that!


Another early I Spy. The
colors are so pretty!

One of the first ones I made with
this pattern. It is a fun I Spy.
And finally I should give credit where credit is due. I originally found this block here. https://fabrictherapy.blogspot.com/2012/03/tutorial-x-marks-block-free-pieced.html
ENJOY!




Wednesday, April 24, 2019

Let There Be Light

     Anyone who has read this blog over the years probably knows what is my least favorite thing to do in quilting--borders! Hate em!  Well, today I actually sewed 2 different sets of borders on a quilt. Uck.
No flash.  Colors are somewhere
in between
Photo with flash
      The story starts Monday when I reached into the UFO bucket and pulled out the first ziploc my hand hit. Turned out to be a bag full of  2 1/2" strip scraps that I inherited in a giant bag of scraps a couple years ago. They obviously were from a jelly roll that someone finished up. They were lovely red, white, and beige pieces. My first and only idea was to do a deconstructed 9 patch. I had all patches done and layed out Tuesday before work and today (Weds.) I put it together. It's kinda small and needed borders so I went to my stash in the sewing room. I found a good red on white that looked nice with it, and a piece of red that was the right shade. Yay me. I cut the white border, sewed it on in the current sewing room. (Yes, I have 2 sewing rooms at the moment, but no bedroom. Such is my life). Anyway I then took it into the kitchen where my ironing board is (yes, the kitchen. Long story involving, light, heat, and exercise) and as I was sewing it on I realized the border was too white. Like "galloping horses" too white. I didn't see it in the light of the sewing rooms, but in the kitchen it was glaringly obvious. So, back to the sewing room to rip it out, back to the stash for a light beige, and I had to sew it on again. Highlight of my only day off in 10 days.  
       So I guess the moral of this story is..check your colors in different lights. They really do change!

Thursday, April 4, 2019

It's All About the Blues

      After my dad passed away in August I just have not been able to get enthused about much of anything. I didn't do any Christmas projects, the kiddos didn't get ornaments, I didn't do my usual "January Project". I did layer a couple projects, quilted a couple small quilts (so I'd have enough pins for a big quilt, but really didn't do much. I have a pile of 6 quilts that need bindings and darn it the binding fairy still has not shown up! I was just forcing myself to work on things in my piles but not really enjoying myself. And here's the big one. I haven't bought any fabric since my birthday in July! I know I was depressed but just wasn't enthused.The Lonequilter was really alone.
This tote used to be stuffed to the top.
      Finally I came up with an idea for a project which I thought might be fun for me. I pulled out the tote of blues and greens, pulled out every piece that was smaller than 1/4 yard and started cutting strips of various sizes. I started with the X Marks the Spot quilt. Then I decided to make my favorite crazy log cabin. Then I went with the strippy block. The floor is covered with strips, there are scraps everywhere and I have 3 projects going on. The other night I sewed until 1:45 and forced myself to go to bed. Then the other day I realized something was different.. I was on my way to work, It was a nice day and I had been so busy sewing and cutting I had completely forgotten to take my Pokemon Go walk, which I do almost every day. I looked around and said to myself "You've turned the corner".
Oh Lordy, what a mess I have
to sort through!

Strippy
Crazy log cabin


X marks the spot

Tuesday, April 3, 2018

Words Escape me on this one!

     Words escape me, really they do! Last year at our retreat we had a swap of fabrics, patterns, UFO's, stuff we didn't want any more. OMG I took home  a UFO project that is indescribable. All I can say is I hope the quilter has improved since then! My plan is/was to make a charity quilt from it but this may be beyond me! Two blocks were assembled and I took one partially apart to match up the center seam which was a full 1/4" off! The two blocks are not the same size and check out the sewing and pressing! I started taking apart pieces that had been started and none of the 1/2 square triangles are the same size. That was when I discovered that the quilter had backstitched 1/4" to 1/2" in from the edge! Taking apart is tough! Not to mention that the fabric is directional and going every which way! Still shaking my head on this one!